2014 Ram 1500 EcoDiesel Crank Position Sensor Replacement
OH, How MUCH fun this one was. What made it even BETTER, was doing it 3 times! …. more on that later.
I was trying to figure out how i was going to break this down .. mostly because i didnt take a whole lot of (any) pictures. Anyway, i figured whoever is reading this may just want a semi-step-by-step so here goes. This is as best as i can recall, since i just wrapped up doing this.
Firstly, I want to start with saying i had to do this because of a P0366 code on my 2014 Ram 1500 Ecodiesel. P0366 is a code for the Crankshaft position sensor. I researched the code and found that the sensor is on the OUTPUT side of the crankshaft. Whomp Whomp. I also found that there IS a recall for the code, however it ONLY is a software update to read the camshaft sensor to prevent leaving you stranded. If you are stranded, its probably because you dont have the update. I did, so i was able to drive it home (limp mode).
Start this by understanding that you ARE removing the transmission. It sucks, but it is what it is. I’m not going to go into detail about it being an Italian engine – all cars suck, even American.
Prerequesites –
-You know how cars work
-Transmission jack (or similar)
-Jack stands
-Tools, of course. it varied from long sockets to shorties. Oh, and LONG extensions. you’ll need those!
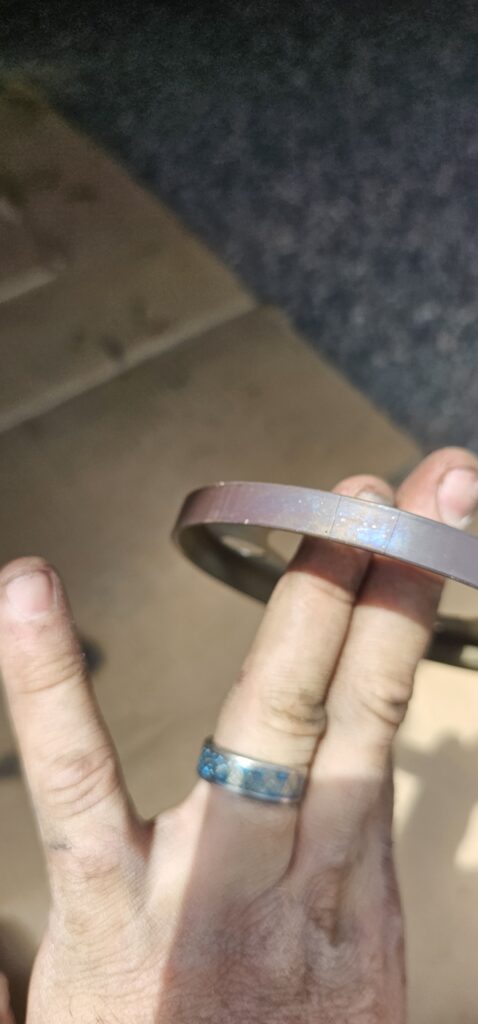
-Purchase new Crank position sensor, tone wheel and rear main seal
-Free time and a young back – mine hates me now
- Put the truck up on 4 jackstands. high enough to manuveor under the truck and get the wheels off the ground – you’ll be under it a while.
- UNPLUG the negative from the battery – I put a small piece of plywood between the terminal and battery to keep it from connecting
- Prep and remove the Transmission
- Unbolt the rear drive shaft from the rear diff – 4 bolts
- slide the rear drive shaft output shaft out the rear of the transfer case (it may drip some fluid here)
- unbolt the front drive shaft from the front diff (if you have 4wd) – 4 bolts, leave it hanging
- remove the DEF skid plate and unplug the sensors – 4 bolts
- remove the tube that goes over to the DEF spray on the SRC (it gets in the way)
- put a jack under (unless its empty) the def tank, remove the 2 bolts holding the straps, don’t forget the filler neck
- lower the tank and set to the side (i zip tied a couple zip lock bags on the openings to keep it from crystalizing)
- Remove the mid chassis brace – 4 bolts (it has nothing on it, and the room is SO NICE!)
- Remove fuel line bracket and bracket that mounts to to the front diff
- Remove the starter and set to the side – 2 bolts (one of these bolts counts as a transmission bolt)
- pop off the Neutral Release cable, and remove its bracket (2 hex bolts)
- pop off the transmission cooler – 3 bolts, i just undid them and left it hanging. you’ll get a few dripping, but easier just to leave it all attached
- remove the DPF lower bracket (bottom end of the DPF)
- remove the DPF upper bracket (top end of the DPF)
- you dont need to unplug any of the DPF sensors or nonsense over there however you will want to unclip them fromthe top of the transmission when you’re lowering it!
- unbolt DPF exhaust gas sensors (i dont remember what they’re called, but theres 2 tubes coming off the DPF to a sensor). 2 bolts hold it to the transmission, 1 of which holds a coolant line to the trans cooler
- Rotate the crank and remove the 6 bolts that connect the flexplate to the torque converter (3 sets of 2)
- From the harness leading to the transmission – you dont have to unplug the harness, but pull all the clips leading to and over the transmission. I personally DID unplug it, but you can get away without it.
- Remove the connector leading into the rear of the transmission
- Remove the connector leading into the Transfer case
- Support the transmission with a Transmission Jack. put it about mid-way/forward on the pan
- remove the support going under the transfer case (2 bolts on both sides, and 3 going into the transmission mount) dont go too far with this, you may be putting it back on to reposition your jack!
- remove the mount from the sub mount (4 bolts)
- remove the sub mount (4 bolts, you need to do this to get to 1 of the t-case nuts)
- Unbolt the transfer case (6 nuts, if i recall) and remove it (this makes it easier to get to the top bolts and put the transmission back in)
- put the transmission and sub mount back in (if you need to reposition your jack to remove the transmission), reposition your jack Front-to-back so that you can get a good path to pull your transmission
- lower the transmission slightly, maybe 3″ past the mount point,
- Unbolt the transmission bell housing (9 bolts, if i recall, the starter is one of them)
- pull carefully and start separating the flex plate from the Torque converter – if you’re careful, you can do it without popping the seal.
- lower the transmission and slide it rear


- Do the repair!
- remove the Flex Plate – note the keyway
- remove the crank balancer – note the keyway
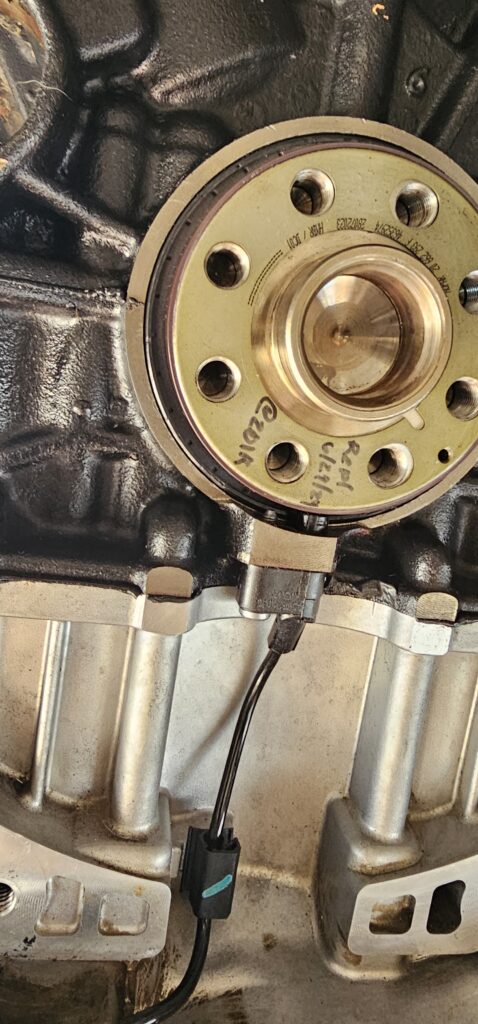
- Unplug the harness to the crank position sensor
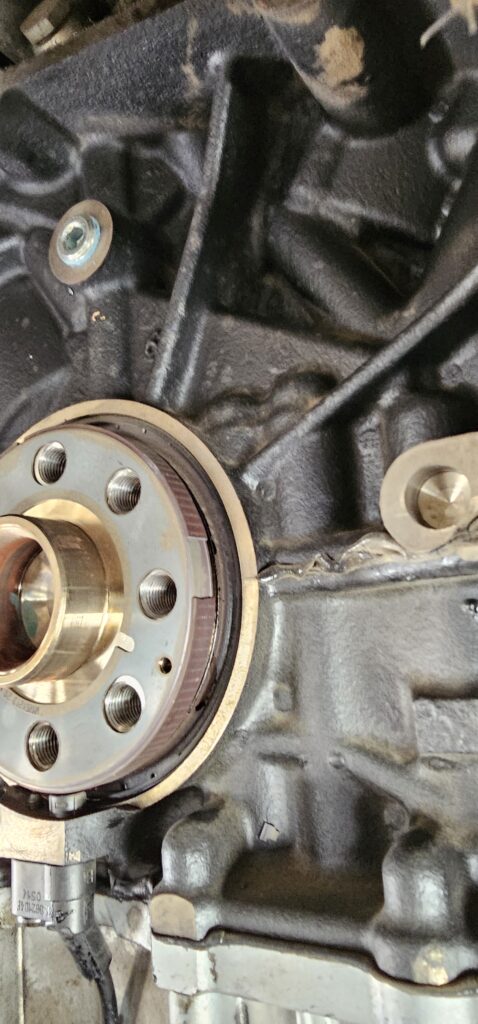
- remove the tone wheel – note the keyway
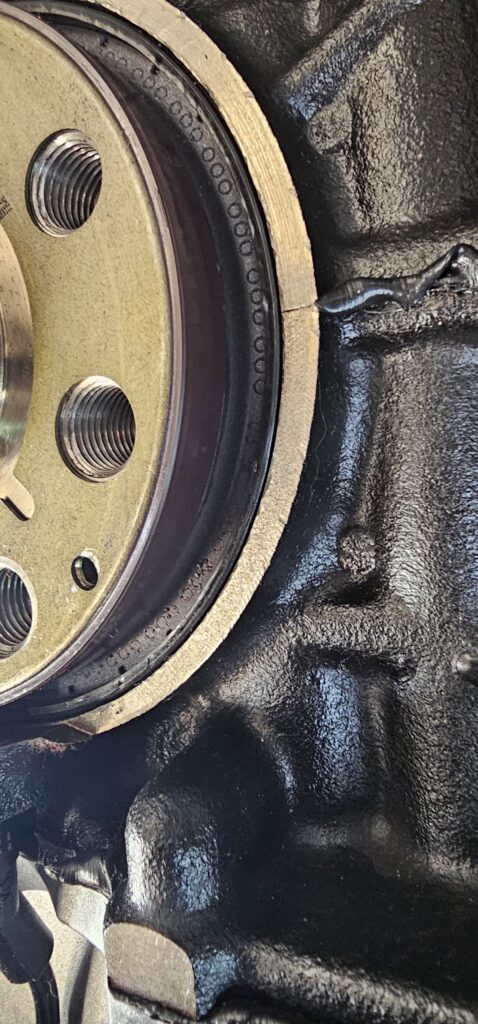
- remove the rear main seal (seriously, you should be replacing this while you’re here)
- replace the rear main seal – dont put it in too far! NOTE: the “air side” on the seal. it goes in “backwards”
- replace the tone wheel
- replace the sensor (do you really want to do all this again only to find the sensor was bad too?)
- reverse what you did!


I added a few to this article since I first wrote it. I ended up pulling the transmission 3 times. Trust me, pulling the transfer case made it SO much easier to maneuver.
Why did i do it 3 times? well. First off, i had a leaky seal to begin with. it wasnt terribly bad but i replaced it. come to find out, it was backwards. I took that misinformation with me when i installed the new one. or should i say 2 new ones. I pulled it a second time thinking i didnt press it in straight, or maybe not far in enough. Nope. it was backwards. the “LIP” side faces OUT. Follow the natural curviture of the seal and you’ll be fine. As far as lessons learned? yeah. this one sucked. But i did go from a 12-hour install down to 6 total.. so i have that going for me! smh

Usually I do not read article on blogs however I would like to say that this writeup very compelled me to take a look at and do it Your writing style has been amazed me Thank you very nice article
Awesome
That analysis was spot on!